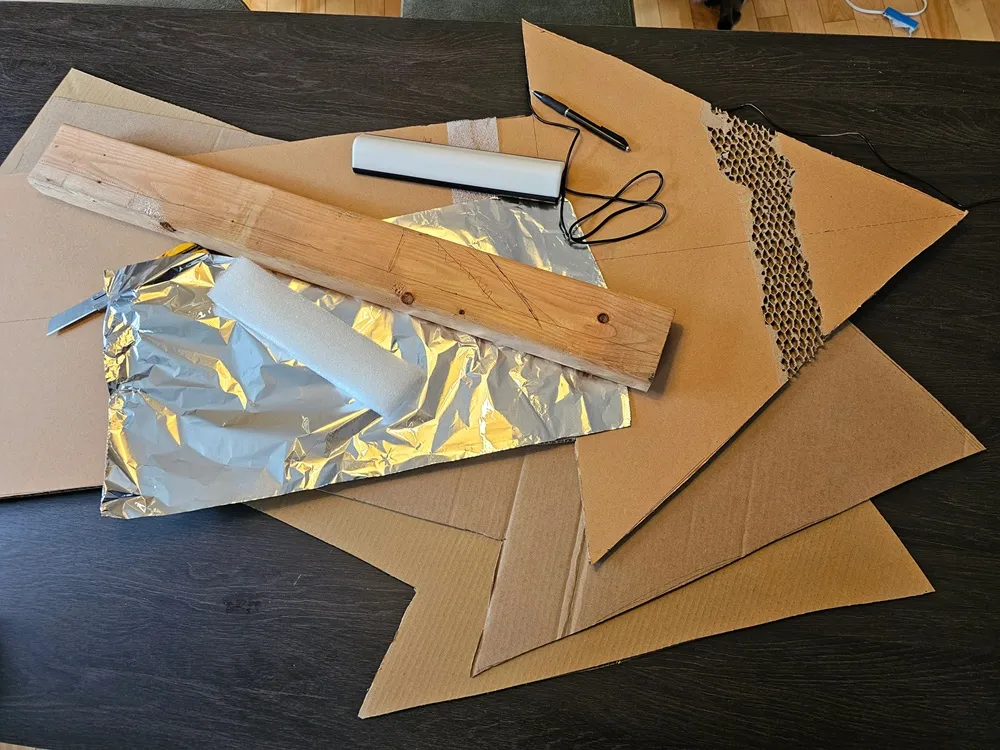
My retro arcade backlit arrow project
Project Description: Moving in January 2026 paved the way for a massive undertaking: the complete renovation of our basement. Now that the walls are up, I finally have my own multi-functional space that serves as a sewing room, a tinkering workshop, and, most importantly, a game room. To set the tone for this room, I needed a visual centerpiece—a retro decoration that screams "arcade" the second you walk through the door.
The inspiration came straight from my Dance Dance Revolution (DDR) mat. My goal? Build a giant 4-foot-long arrow, completely backlit with the exact colors of the game mat. True to my MacGyver philosophy and to avoid blowing the budget after the renovations, the challenge is simple: use as many materials, wood scraps, and hardware as possible that I have already accumulated around the house. Follow the progress of this luminous project, step by step!
Step 1: The Base
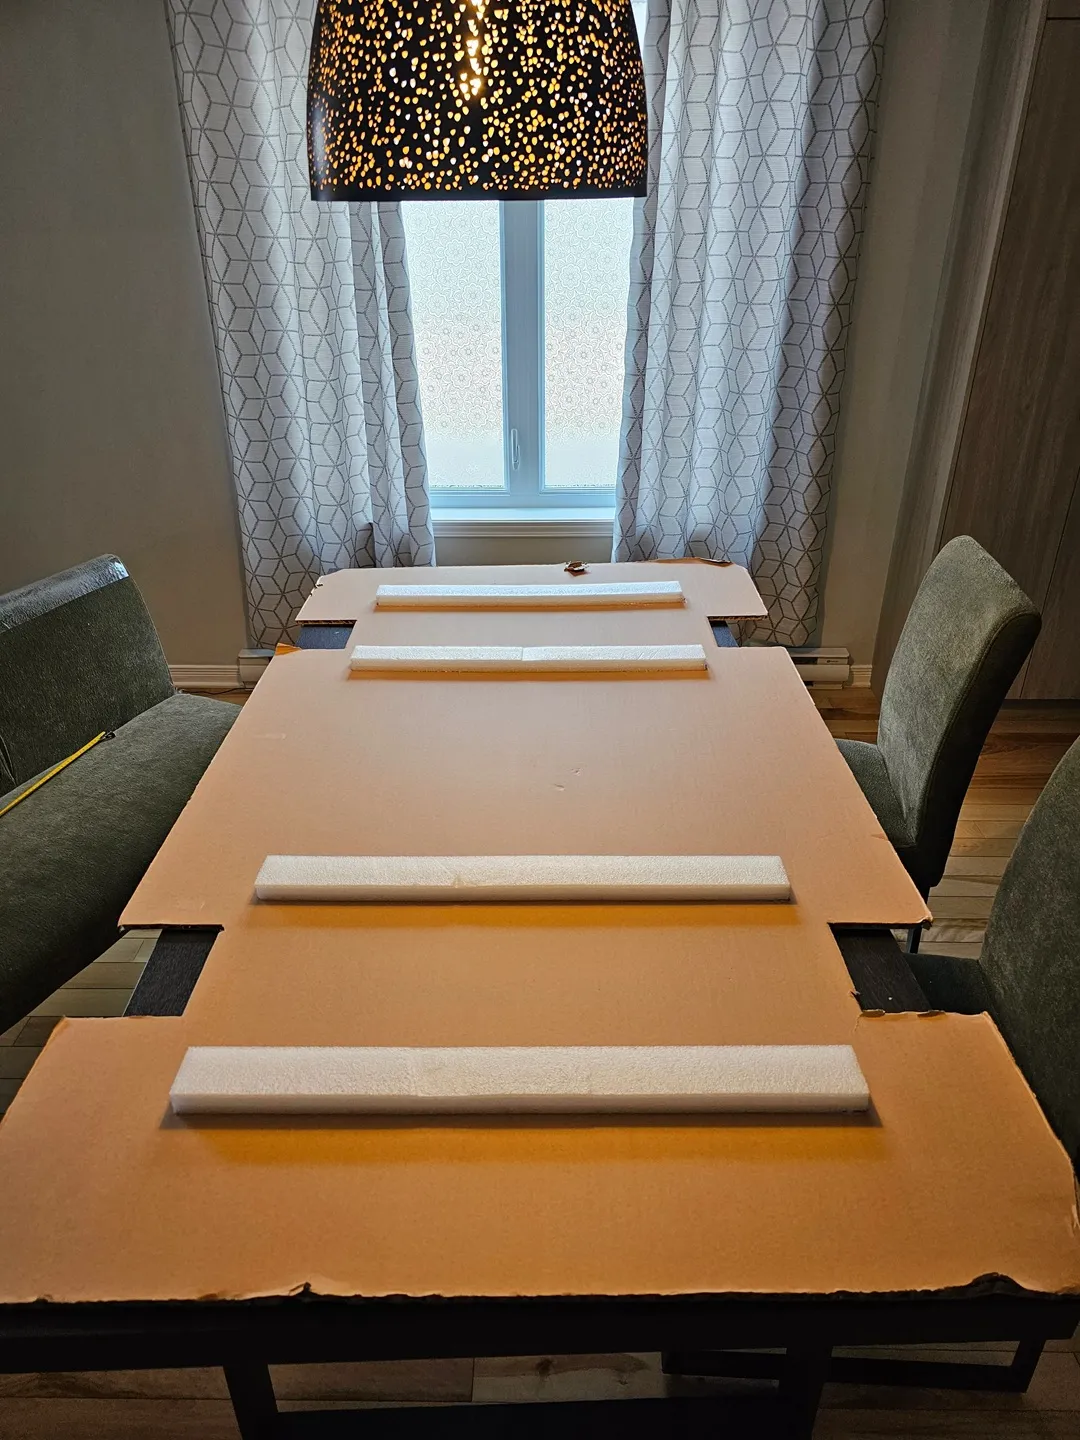 A large cardboard piece ready to be cut out.
 Mimi supervising the measurements.
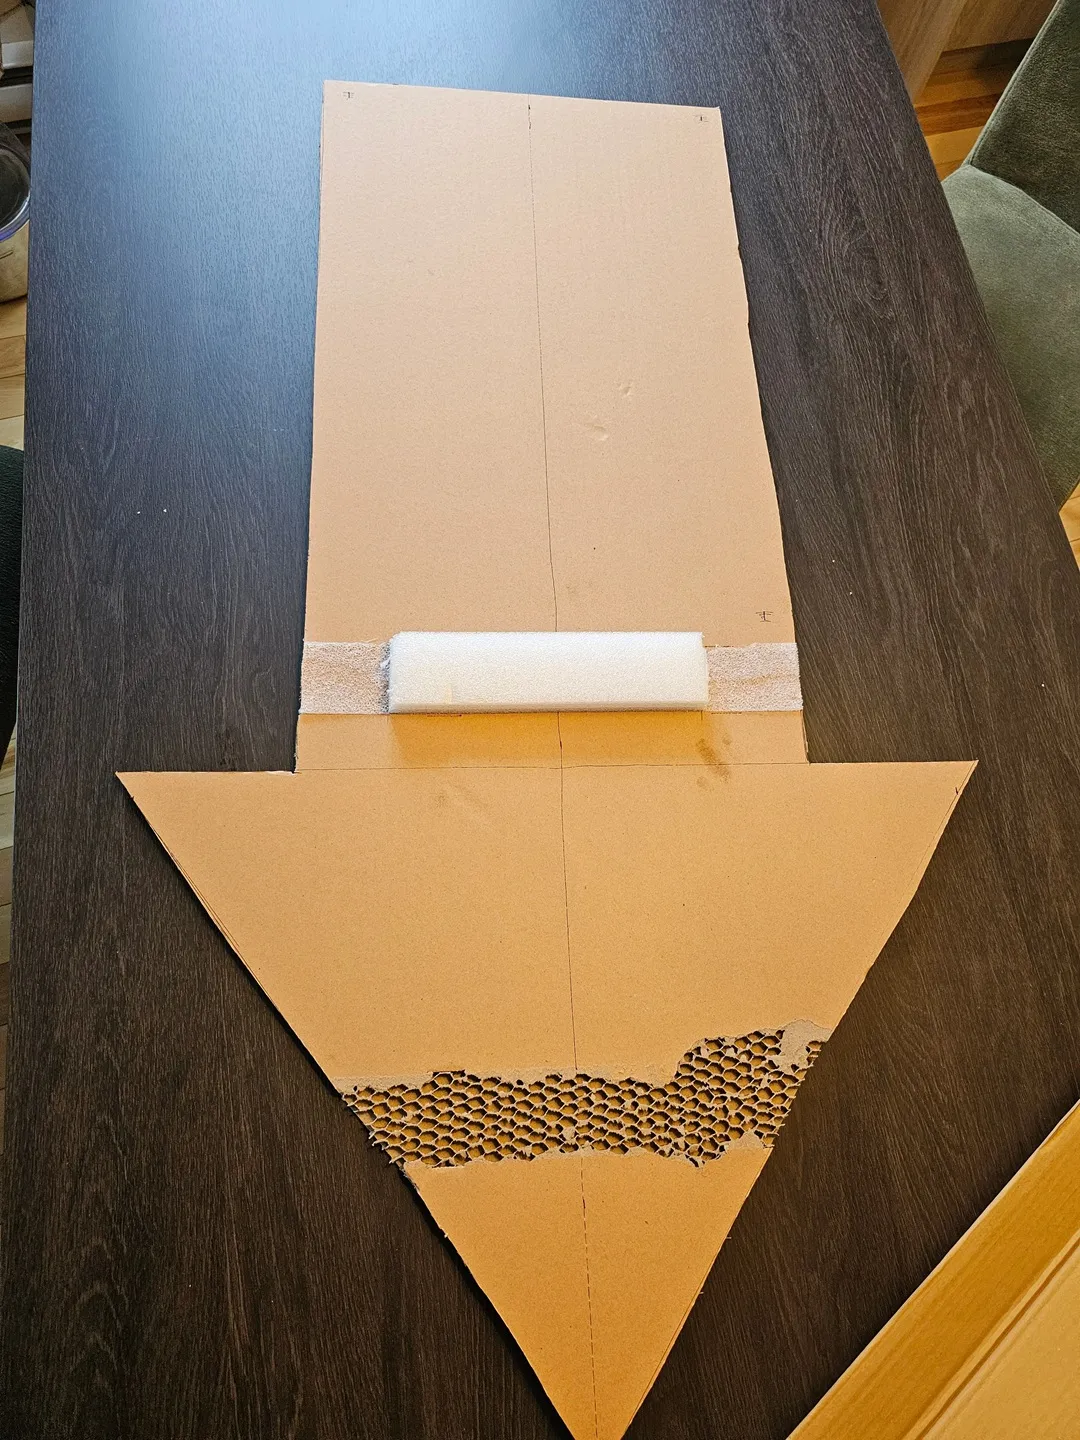 A first arrow cut out.
At first, I wanted to make my arrow out of wood. I have a nice piece of plywood at home. But then, since I plan to cover my arrow with fabric, I thought that would be wasteful. I have cardboard all over my garage, including long pieces because we had furniture delivered. So I decided to make my arrow out of multiple layers of cardboard!
I traced a 2-foot by 4-foot arrow four times on the cardboard sheets, then cut them out using a utility knife and glued them together with a hot-glue gun. Note that there were foam blocks glued to one of the cardboard pieces. I thought about using them as a type of structural support, but I removed them later on.